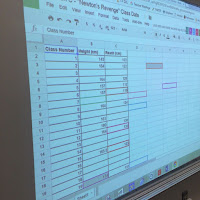
 Want your students to record data in a Google Sheet that is shared with the class, but you don't want them goofing off by changing your column headings or row headers?
Let me show you how you can protect or set permissions for certain cells in your Google Sheet so that when you share it with other individuals they don't mess up your organized spreadsheet!
1. Open your Google Sheet
2. Select a range/cells.
3. From the menu bar, select "Data".
4. Choose "Protected sheets and ranges...".
5. In the side window that pops up, enter a description, like "Student Names" or "Column headings".
6. Click on "Set Permissions".
7. In the new window that pops up, you have two options:
a) "Show a warning when editing
or
or
b) "Restrict who can edit this range" (Allows you to limit who can edit these cells.)
- Select "Only you" to allow only you to edit those cells.
or
- Select "Only you" to allow only you to edit those cells.
or
- Select "Custom" and enter the email addresses of the individuals
you want to be able to edit the cells.
you want to be able to edit the cells.
Now, you can share this with your class!
I use Google Classroom to push data collection out to my students. It makes it a lot easier to manage sharing privileges.
Sharing so the whole class can edit the document using Google Classroom:
- Create an Assignment.
- Attach from Google Drive.
- Select "Students can edit file"
- Click "Assign"
Your students now have the ability to open and edit the document!
No comments:
Post a Comment